Honda CT90 and CT200 Gas Cap Teardown
Honda CT90 and CT200 Gas Cap Teardown
One of the most over looked elements of a Honda CT90 or CT200 fuel system is the gas cap used on the gas tank. The gas cap plays a critical role and is designed to allow air to enter the tank and prevent a vacuum from forming as fuel is used by the engine as the CT90 uses a gravity feed fuel system. While allowing the tank to vent air the gas cap also utilizes a labyrinth design to minimize the gas fumes that can escape from the tank.
This can be a difficult problem to figure out because once the CT90 dies and you start trying to figure out what's wrong, air leaks back into the tank through the partially plug vents in the gas cap eliminating the vacuum, then gas is able to flow back down to the carburetor and the bike can now start and runs again until a vacuum builds up again and starts the whole process over again.
To avoid these types of issues it is important to keep the two external and one internal vent hole in the gas cap clear and open.
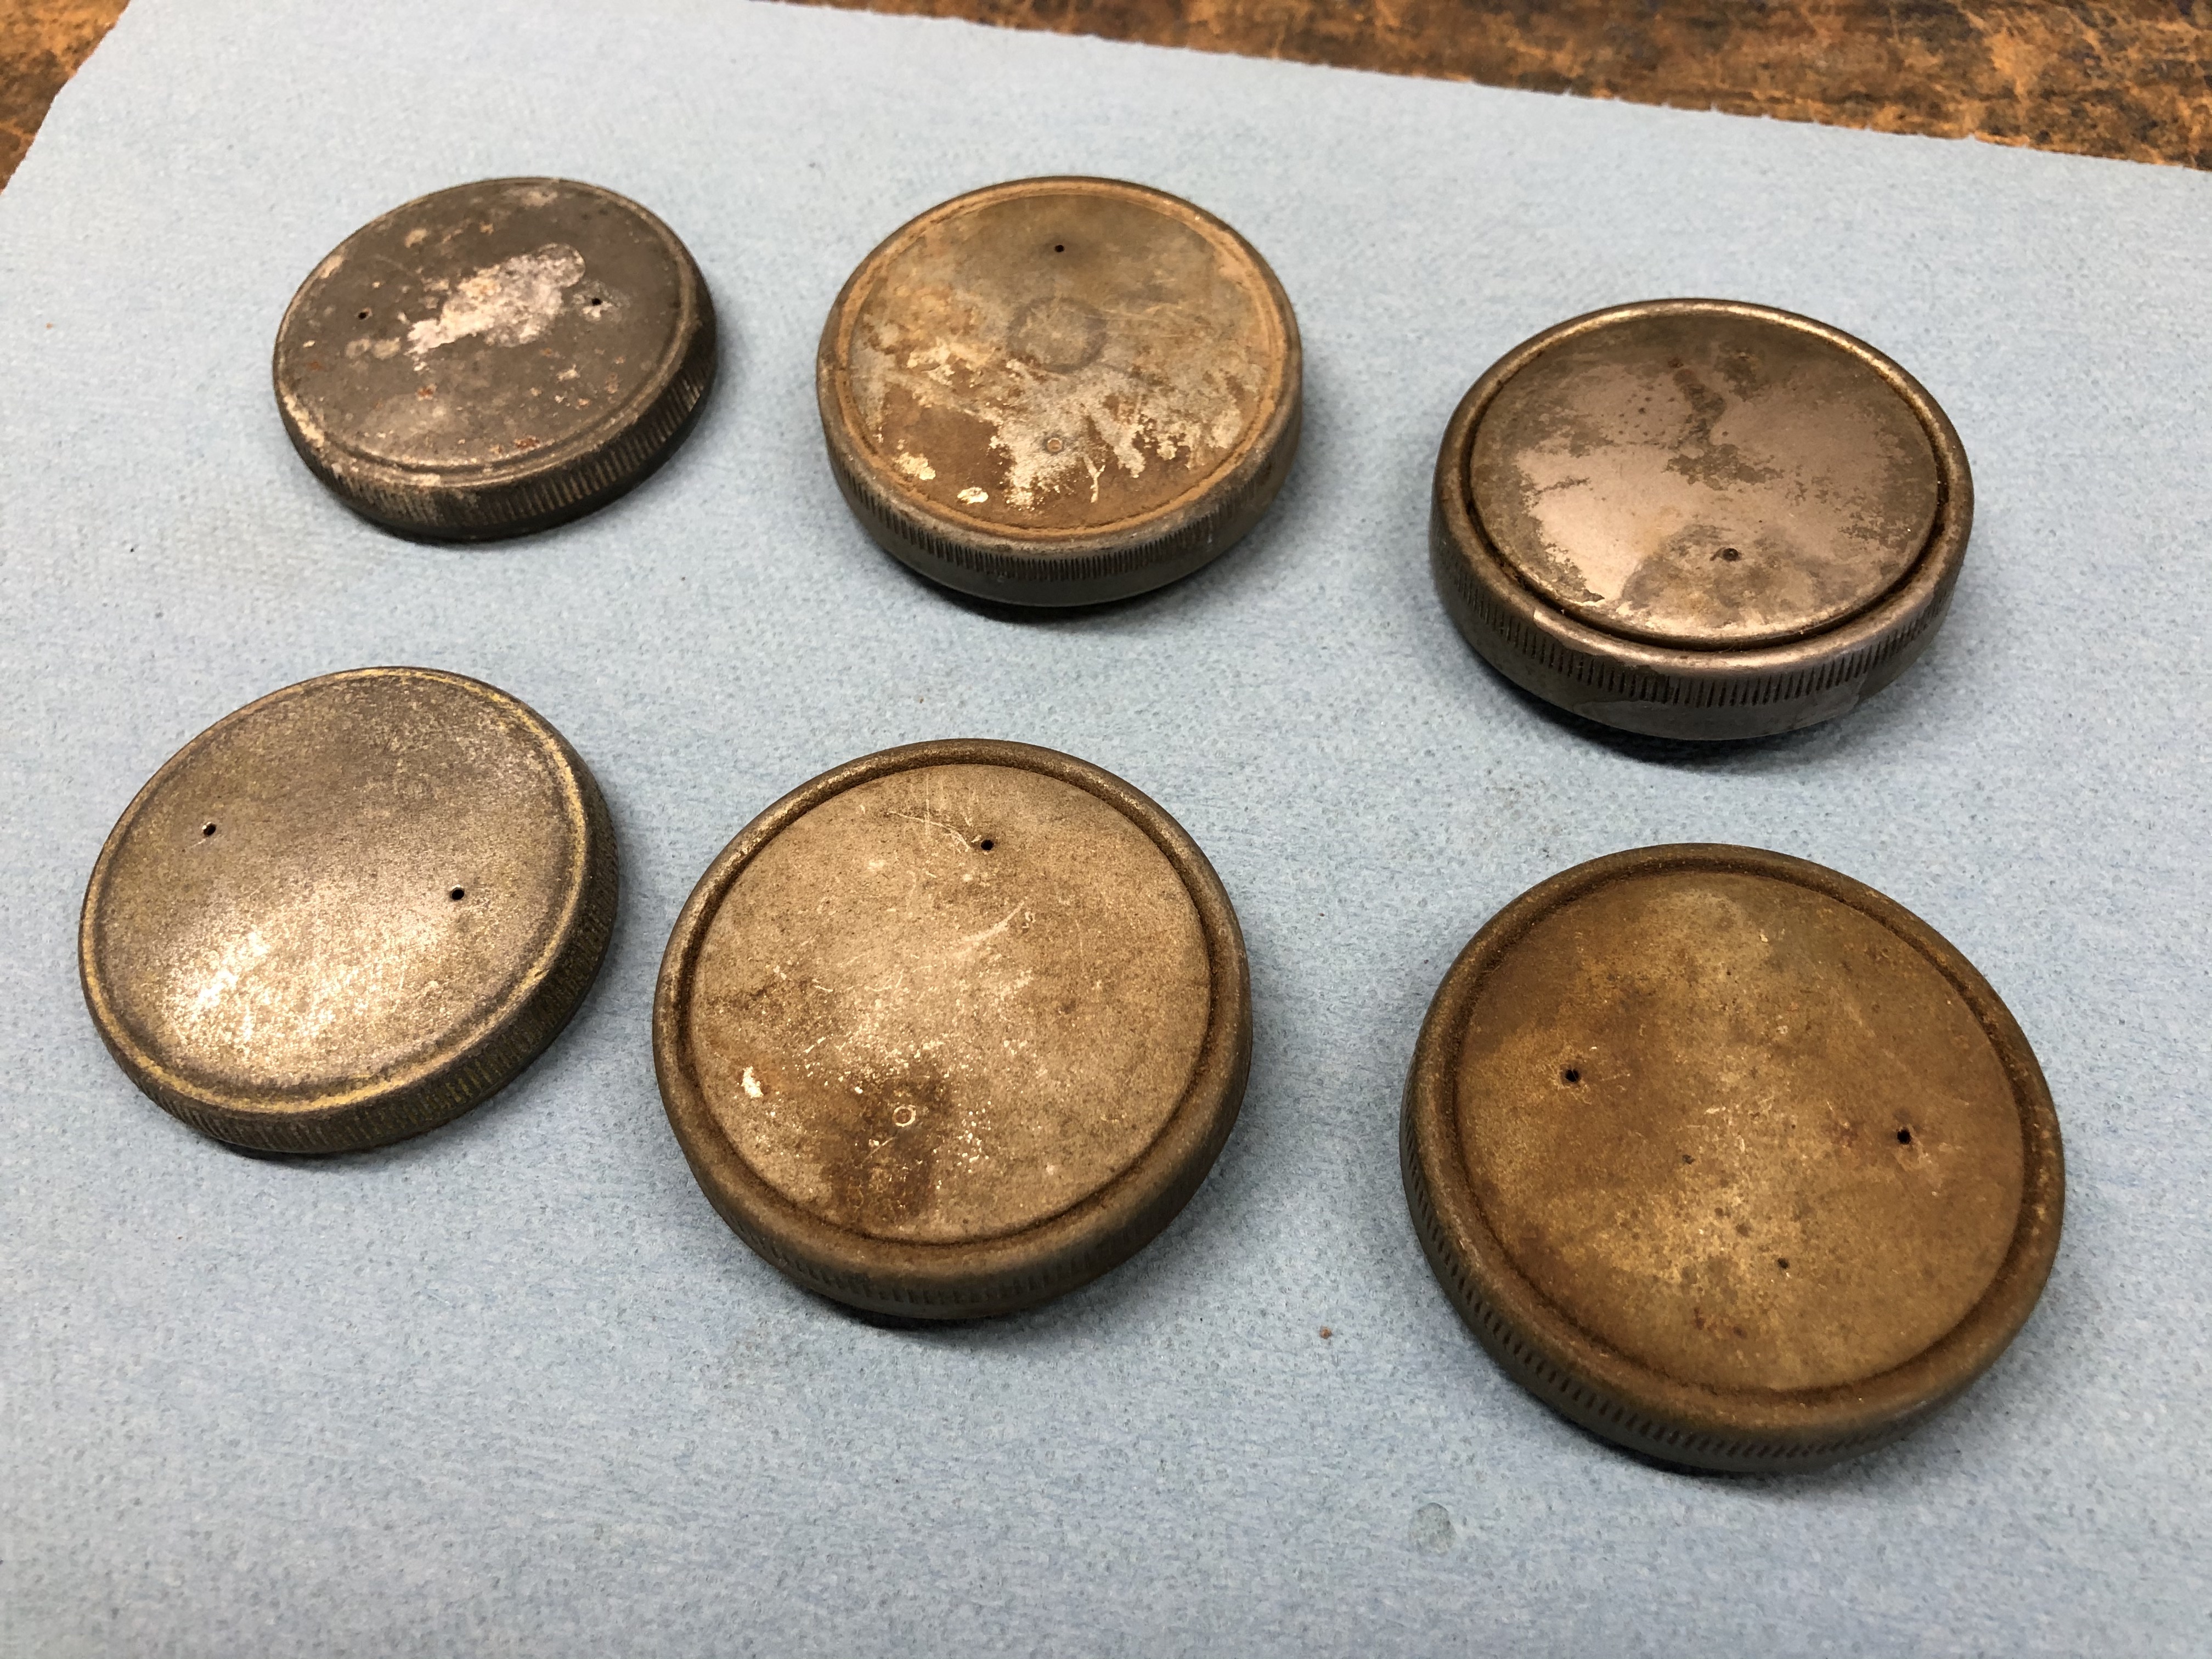
There are a couple of different CT90 gas cap designs and they all contain a chamber or cavity between the outer two vent holes and the inner single hole. I was curious if there was any other baffling within the gas cap so I decided to take a couple and disassemble them to see what if anything was inside.
Warning: I am sharing what I have done working on gas caps on my own bikes as information only and if you chose to work on your own gas cap you do so at your own risk
Later Model CT90 Gas Cap Teardown
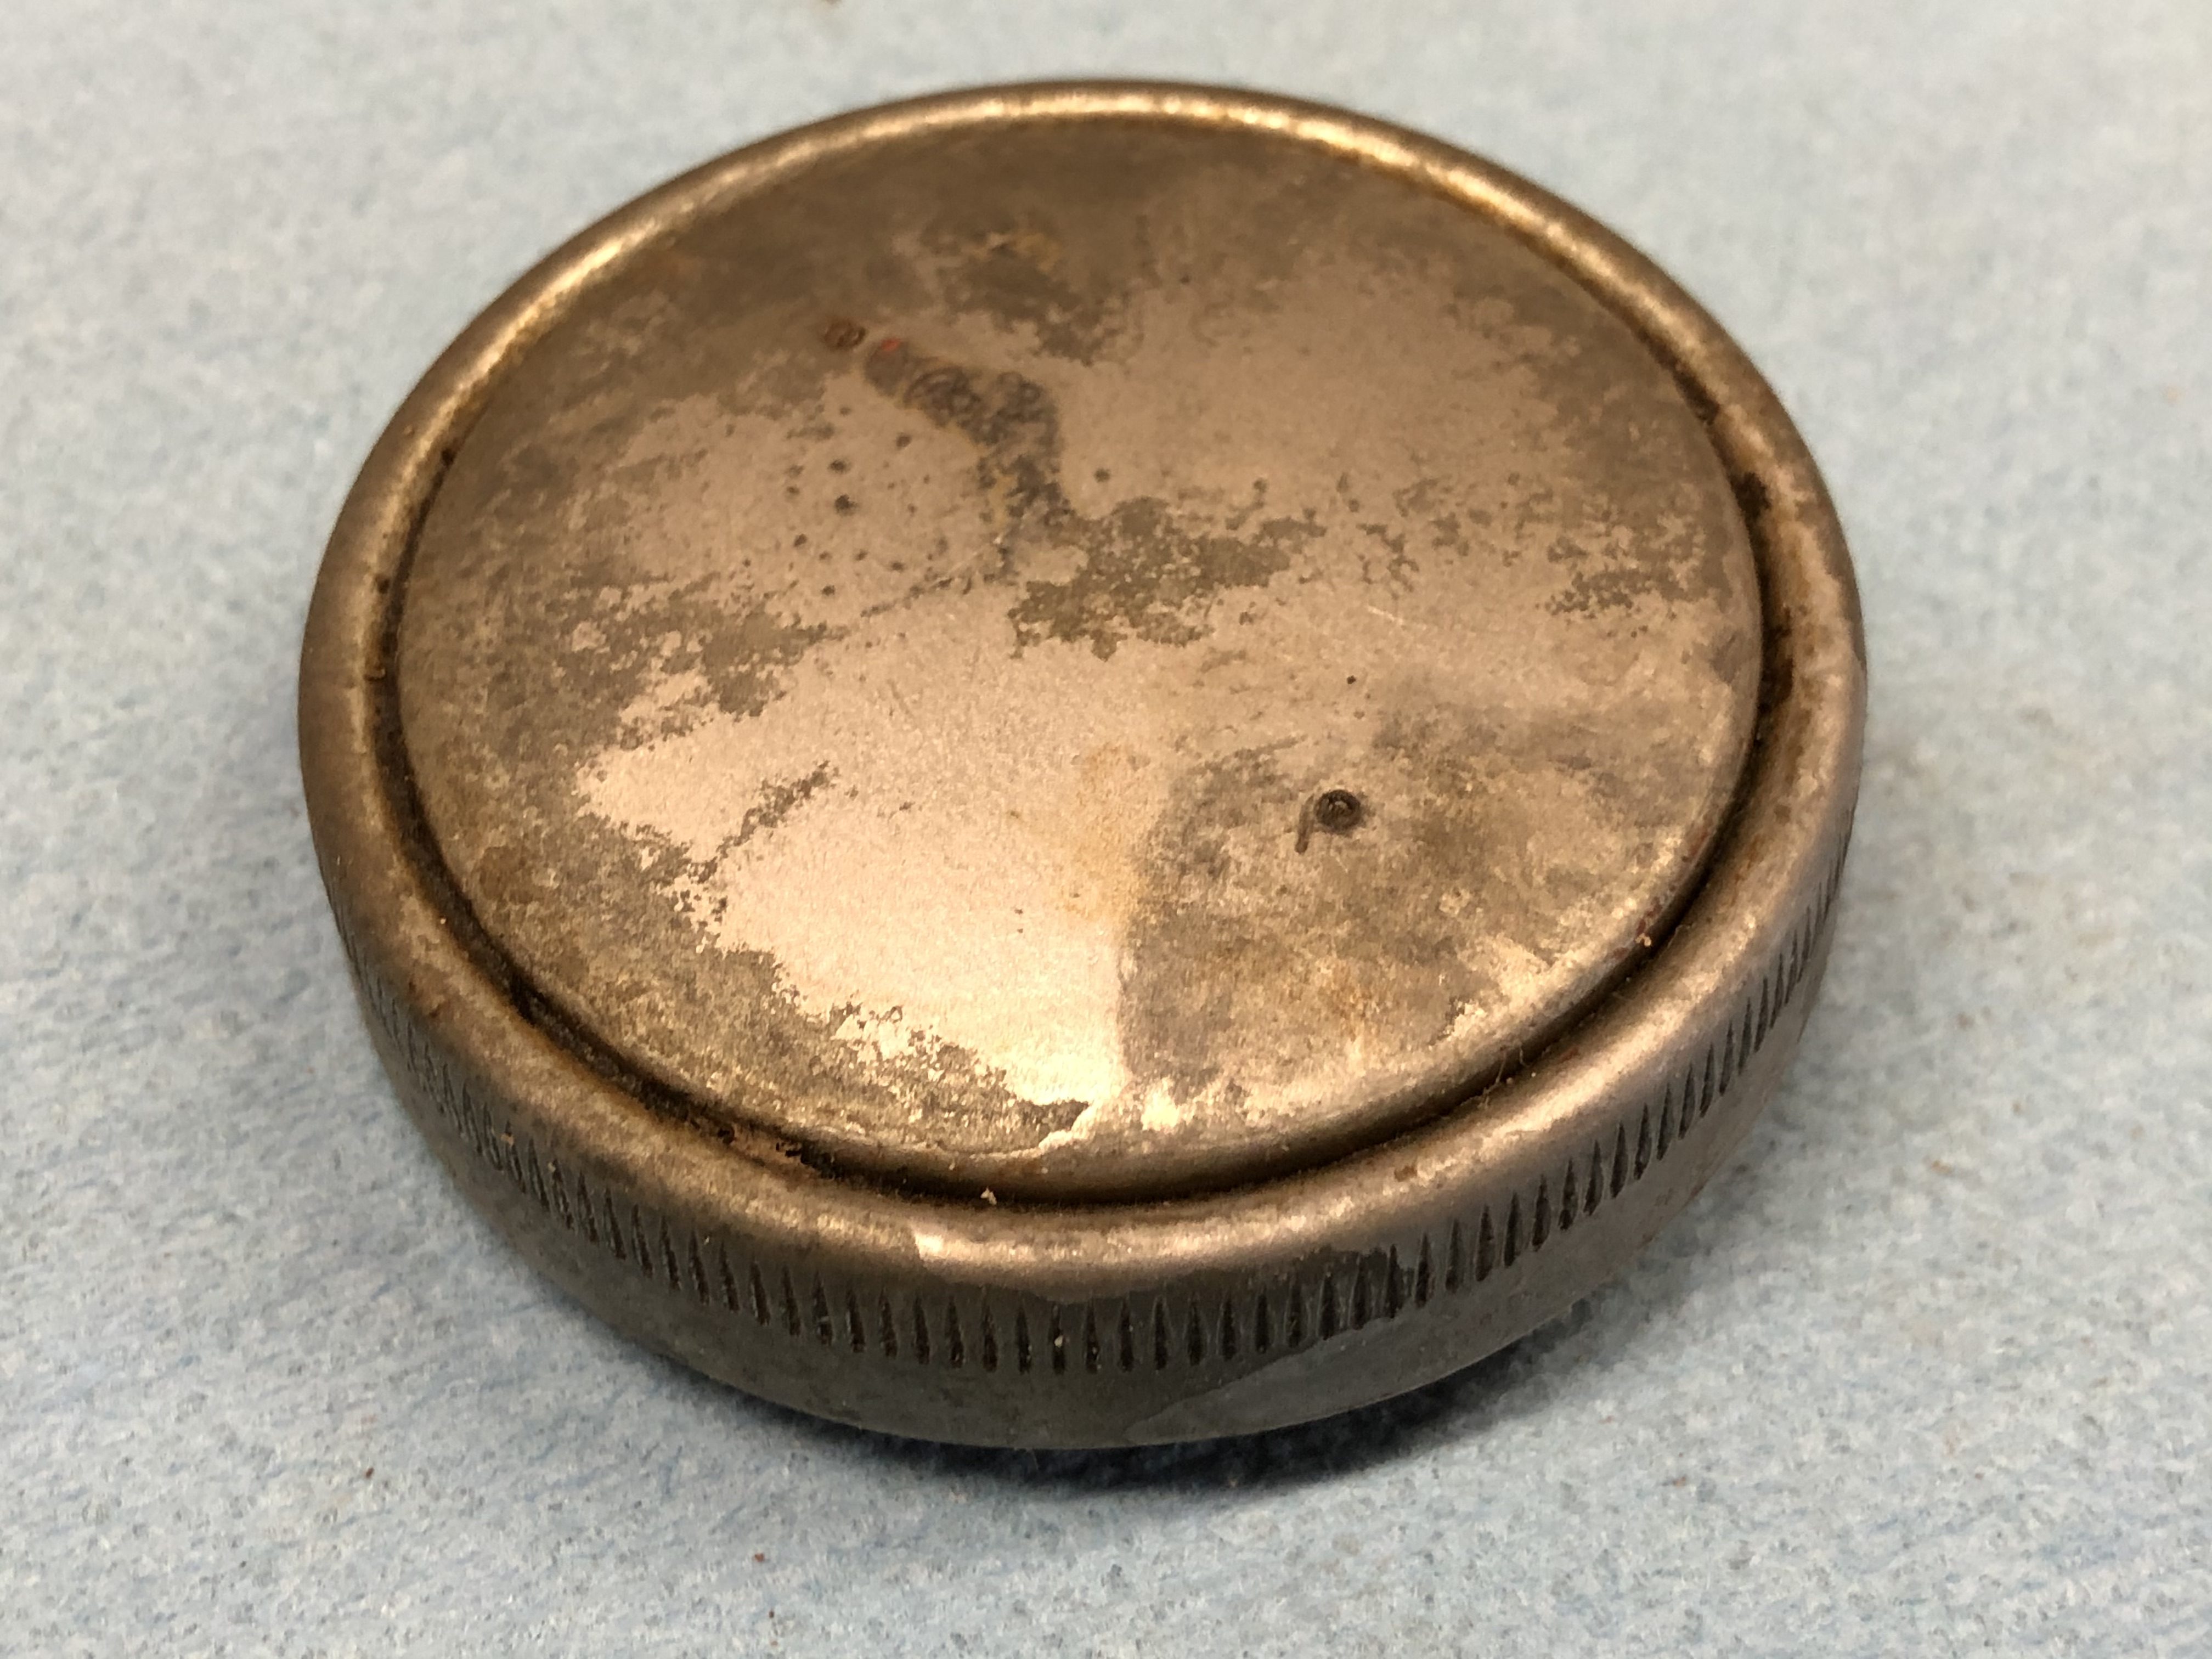
I first disassembled a gas cap off of an early 70's CT90 and here are some pictures of the bottom and top of the cap before I disassembled it.

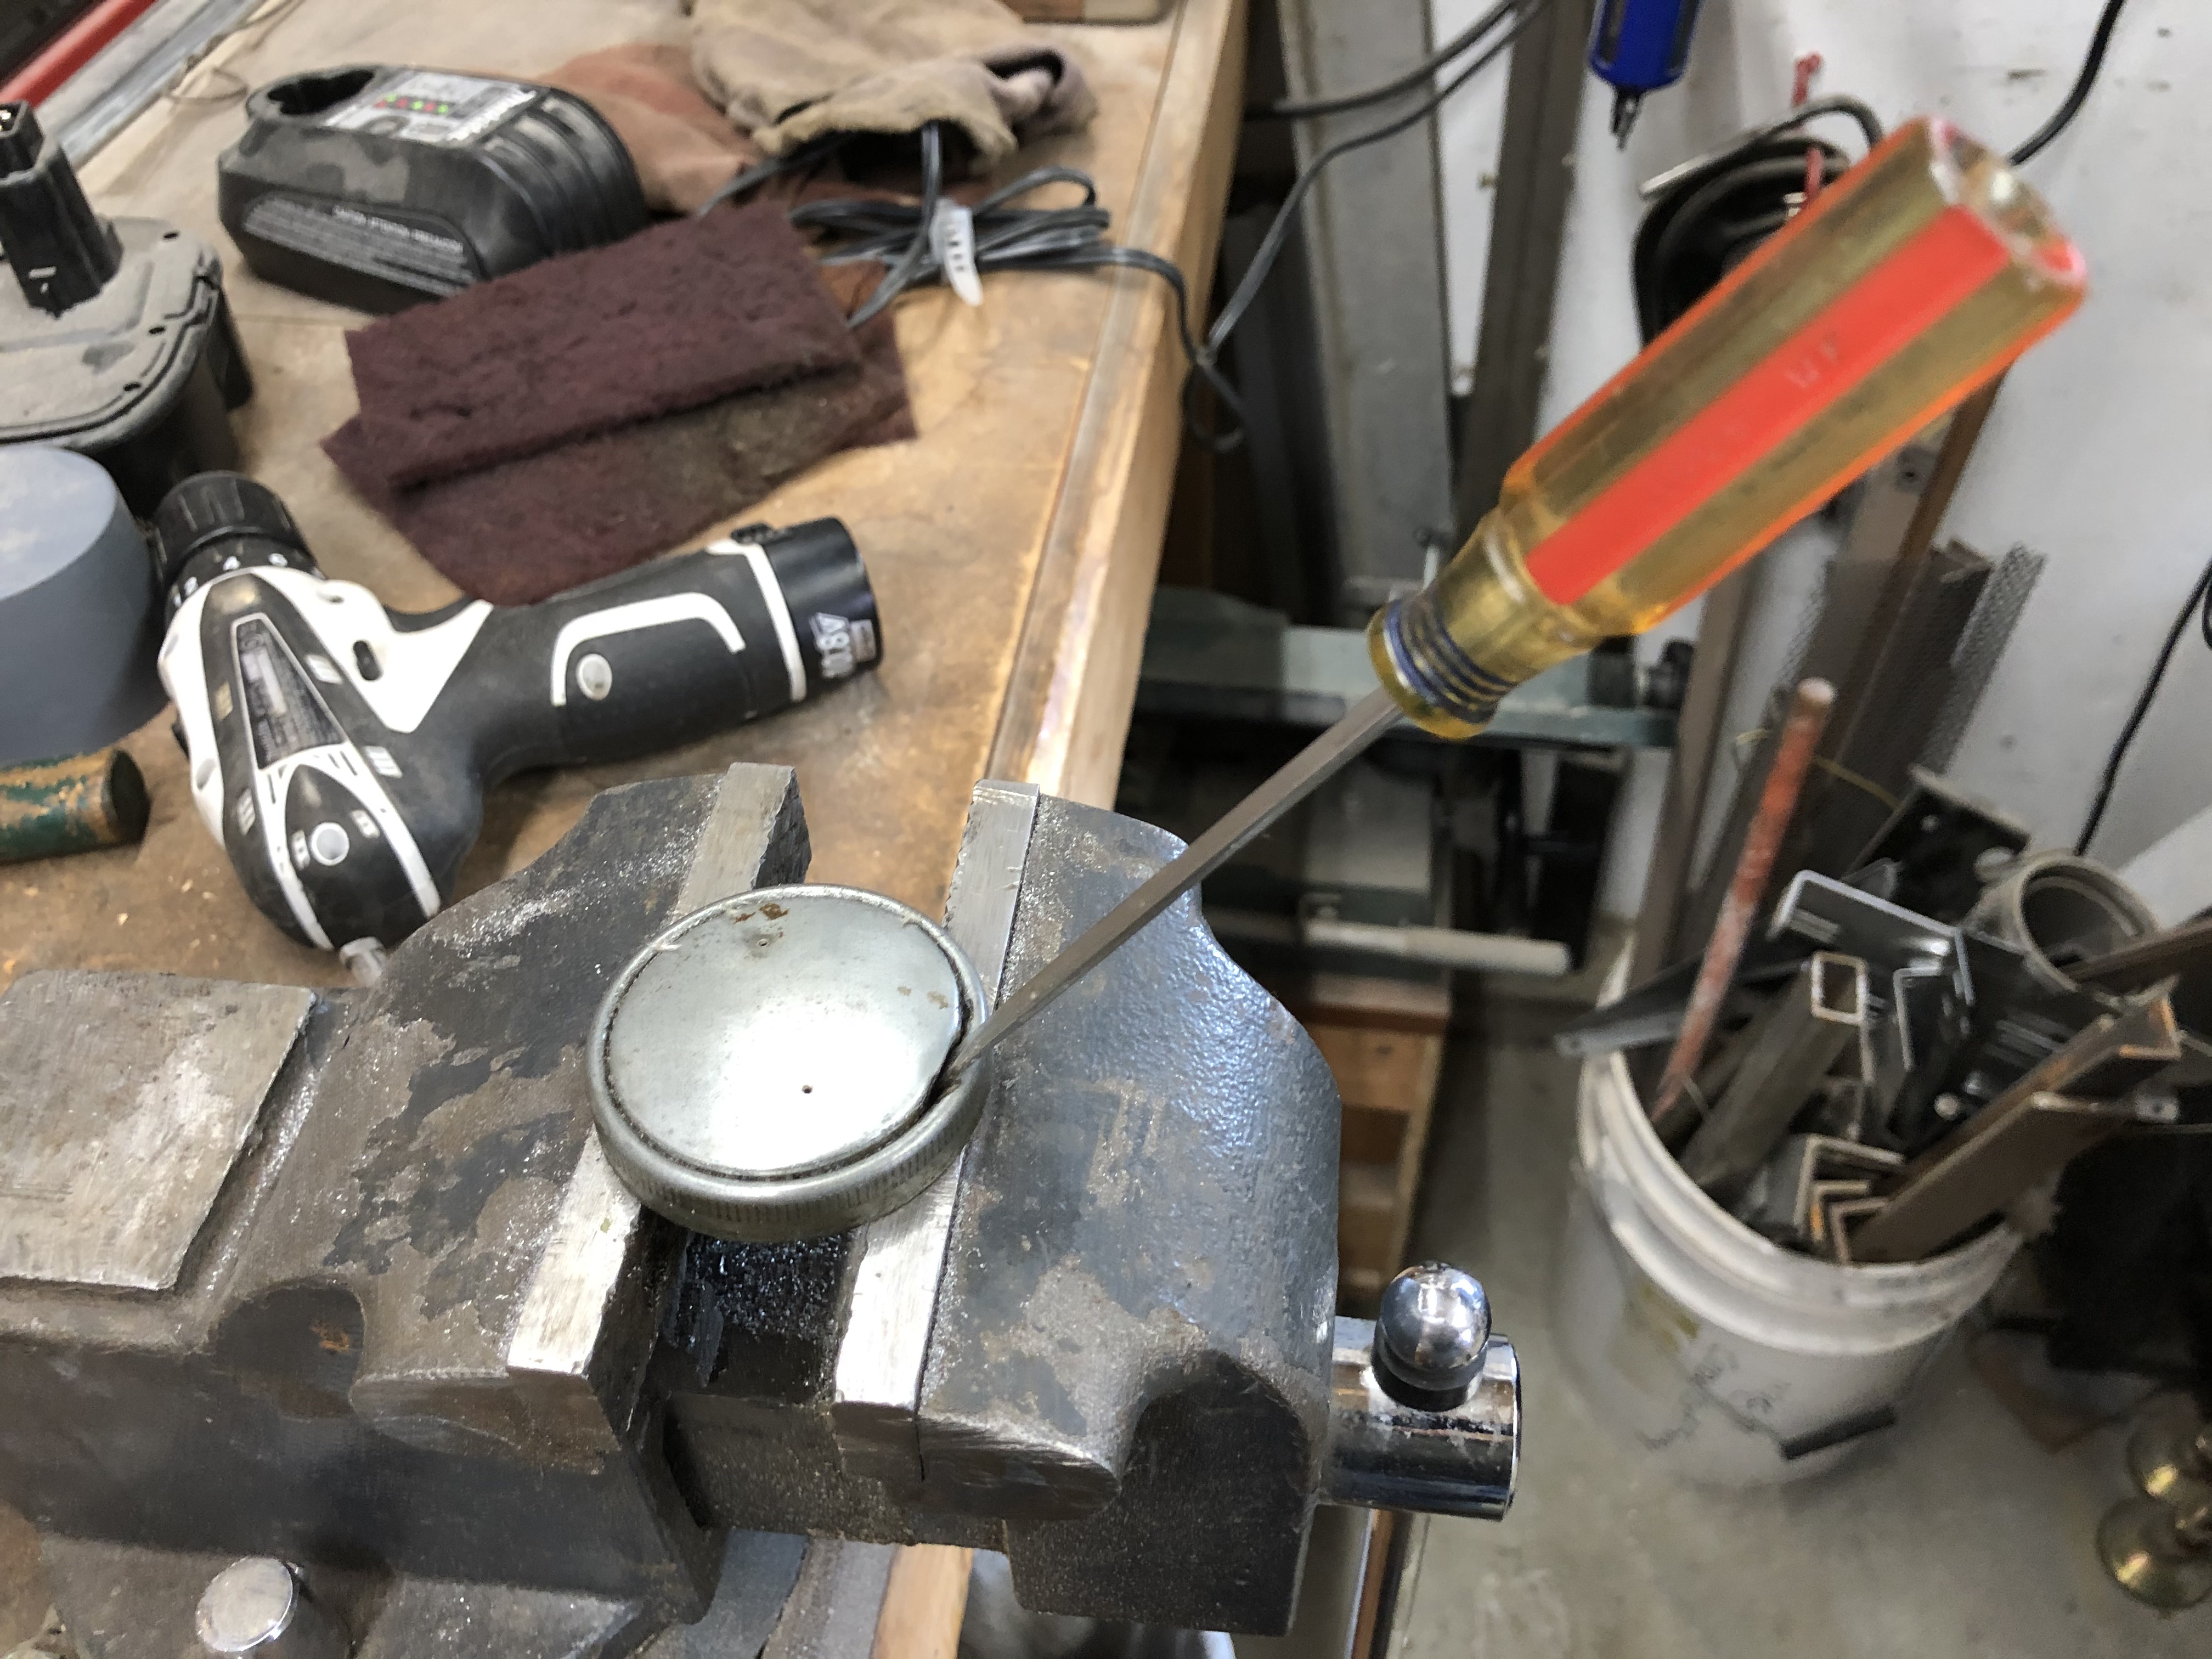
The process to disassemble the cap is pretty straight forward as the top of the cap is really a separate cap that is pressed into the lower cap assembly and just requires driving a small blade screw driver into the interface between the two parts and then prying the upper cap out as shown in the pictures below.

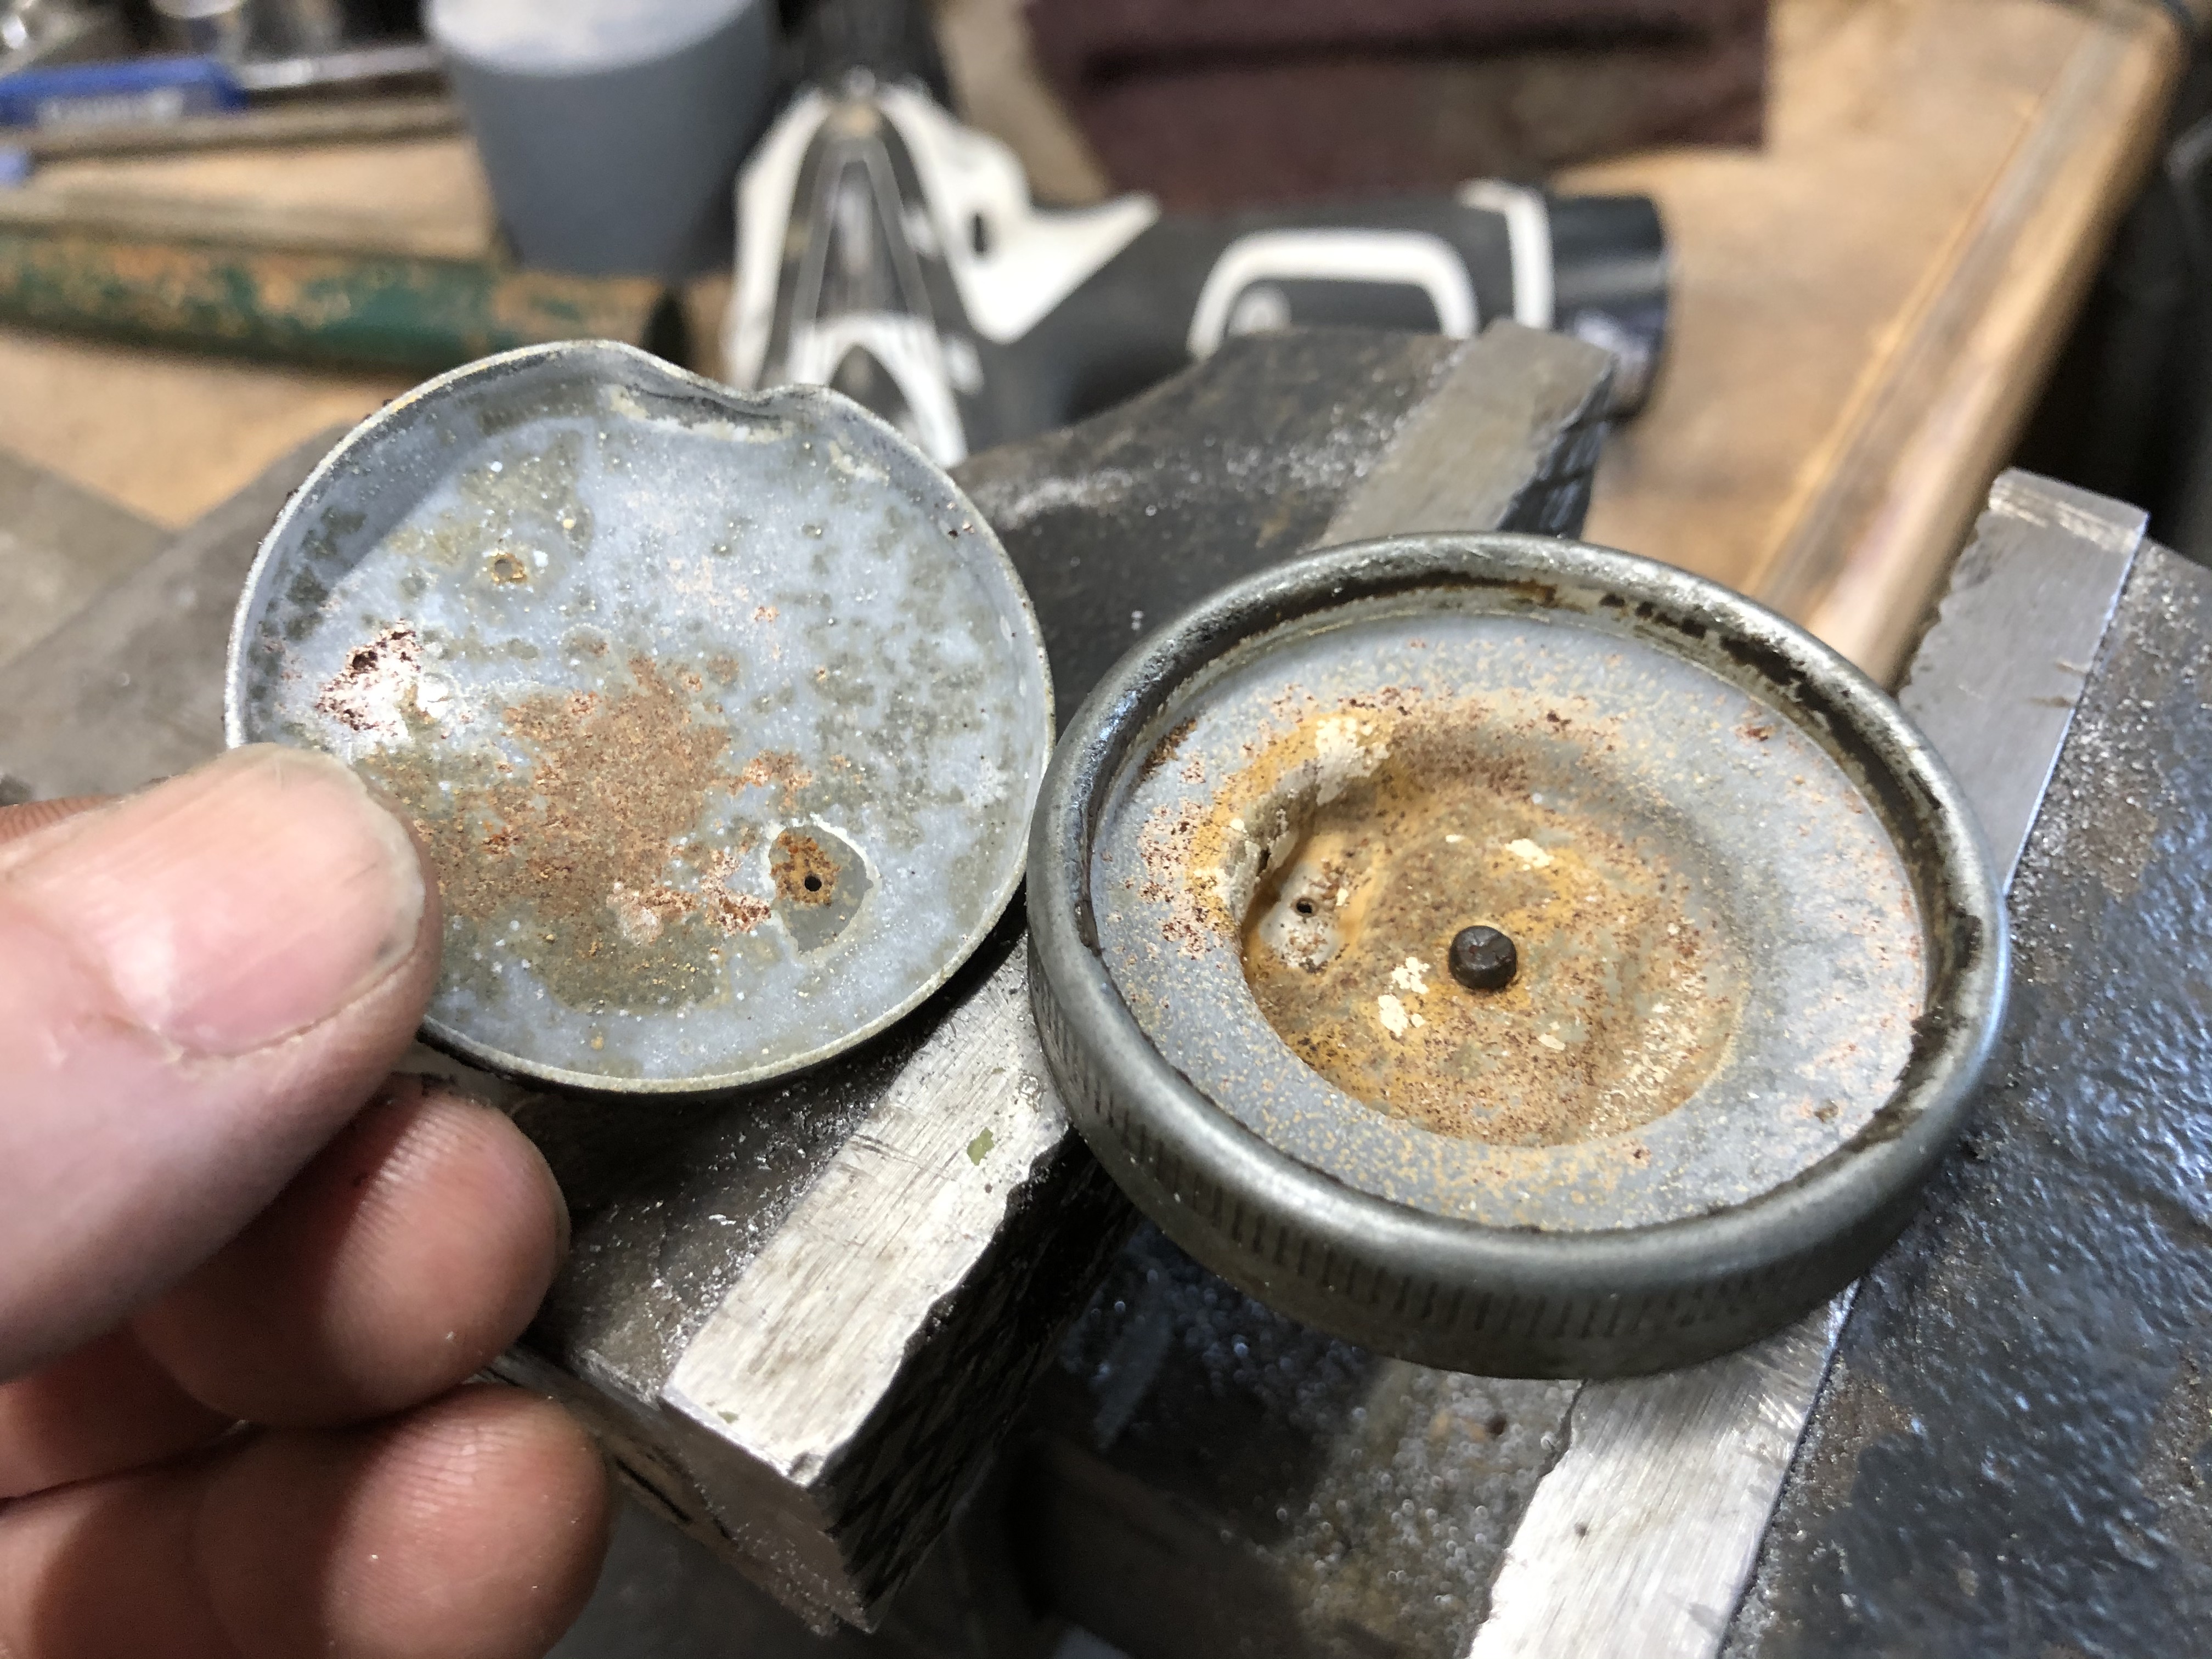
Once I had the two parts separated I found that there was no internal baffling as shown in the picture below.
With the cap disassembled it is now easy to clean up both parts to get rid of all the rust and crud that can clog the vent holes. To reassemble the gas cap you just need to straighten out the rim of the cap you pried out of the main cap and then tap it back in place.
Early Model CT90 and CT200 Gas Cap Teardown
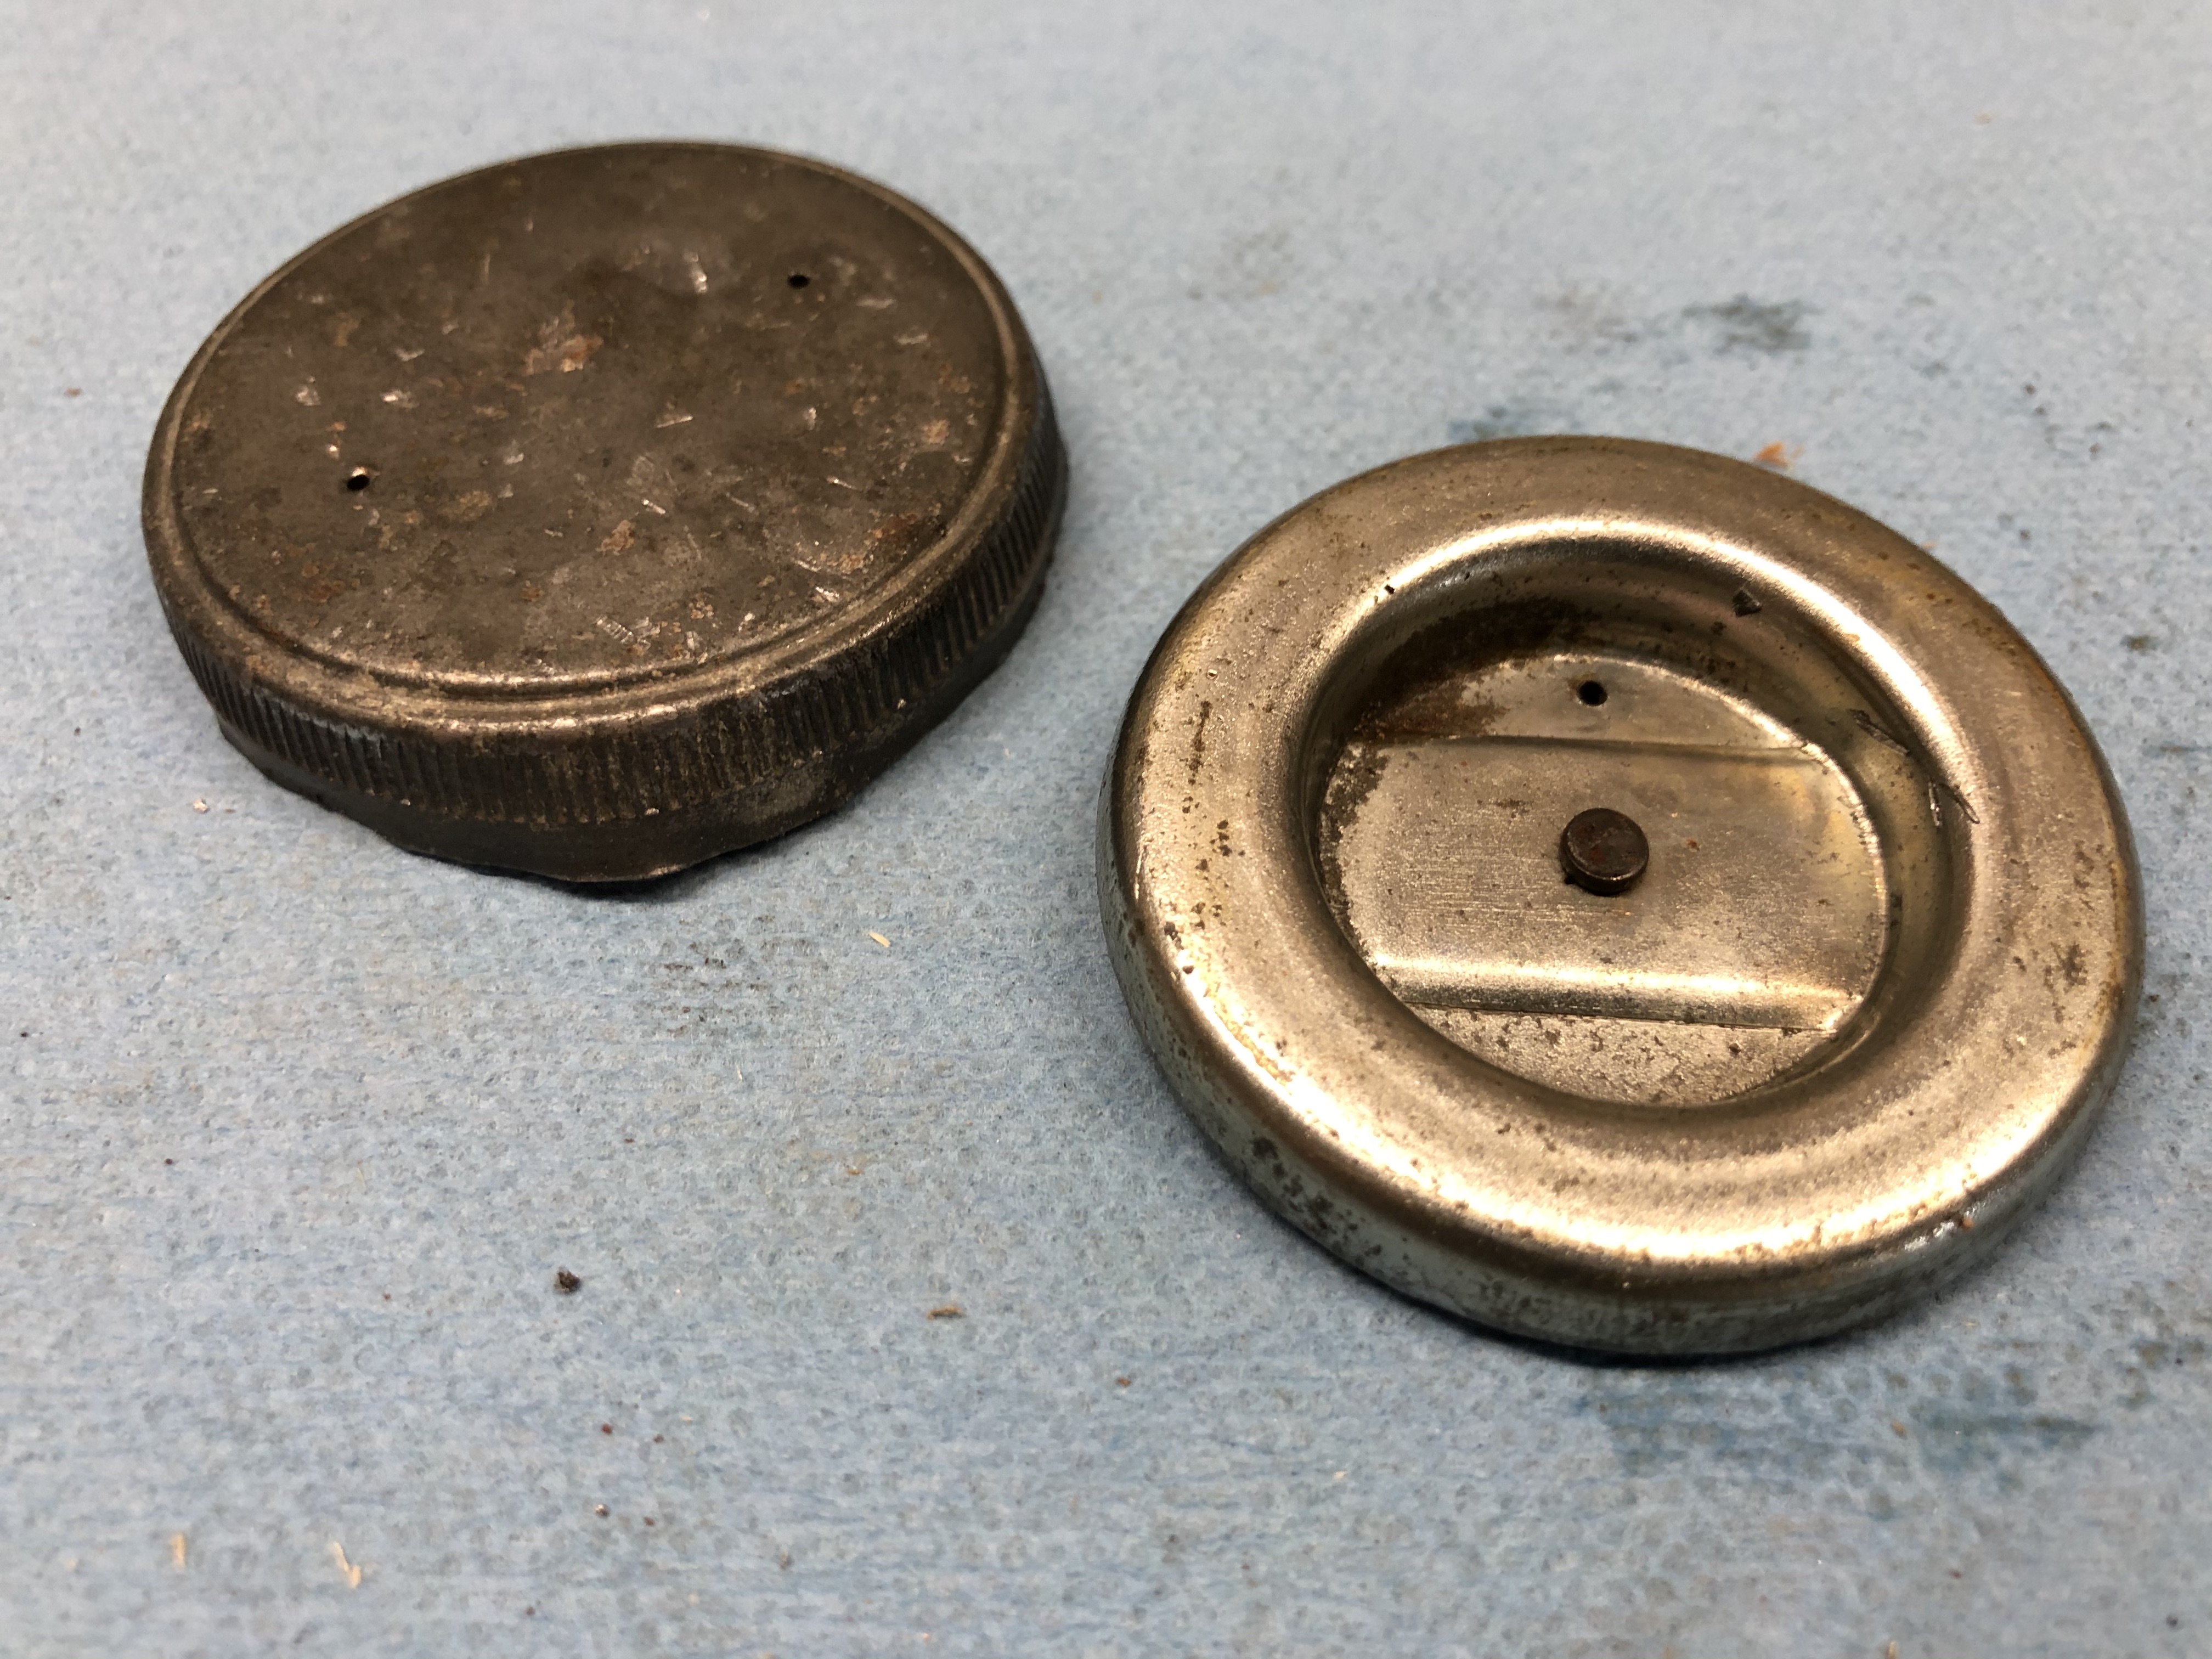
The older versions of the CT90 gas cap are a little more involved to disassemble. Here are a couple of pictures of the bottom and top of an early version of a CT90 gas cap.
This designed is composed of an inner cap assembly that has a single vent hole that is captured in an outer cupped part of the cap that contains two vent holes and then the rim of that component is rolled over to capture the inner cap assembly. You can see the rolled edge in the picture below.
Getting this gas cap assembly apart while straight forward is a little bit of a pain. The basic process was to drive a small screw driver in between the inner and outer cap around the rim and I gently worked my way around the rim prying them apart like shown in the picture below.
Eventually the two parts separated and this is what they look like in the pictures below.
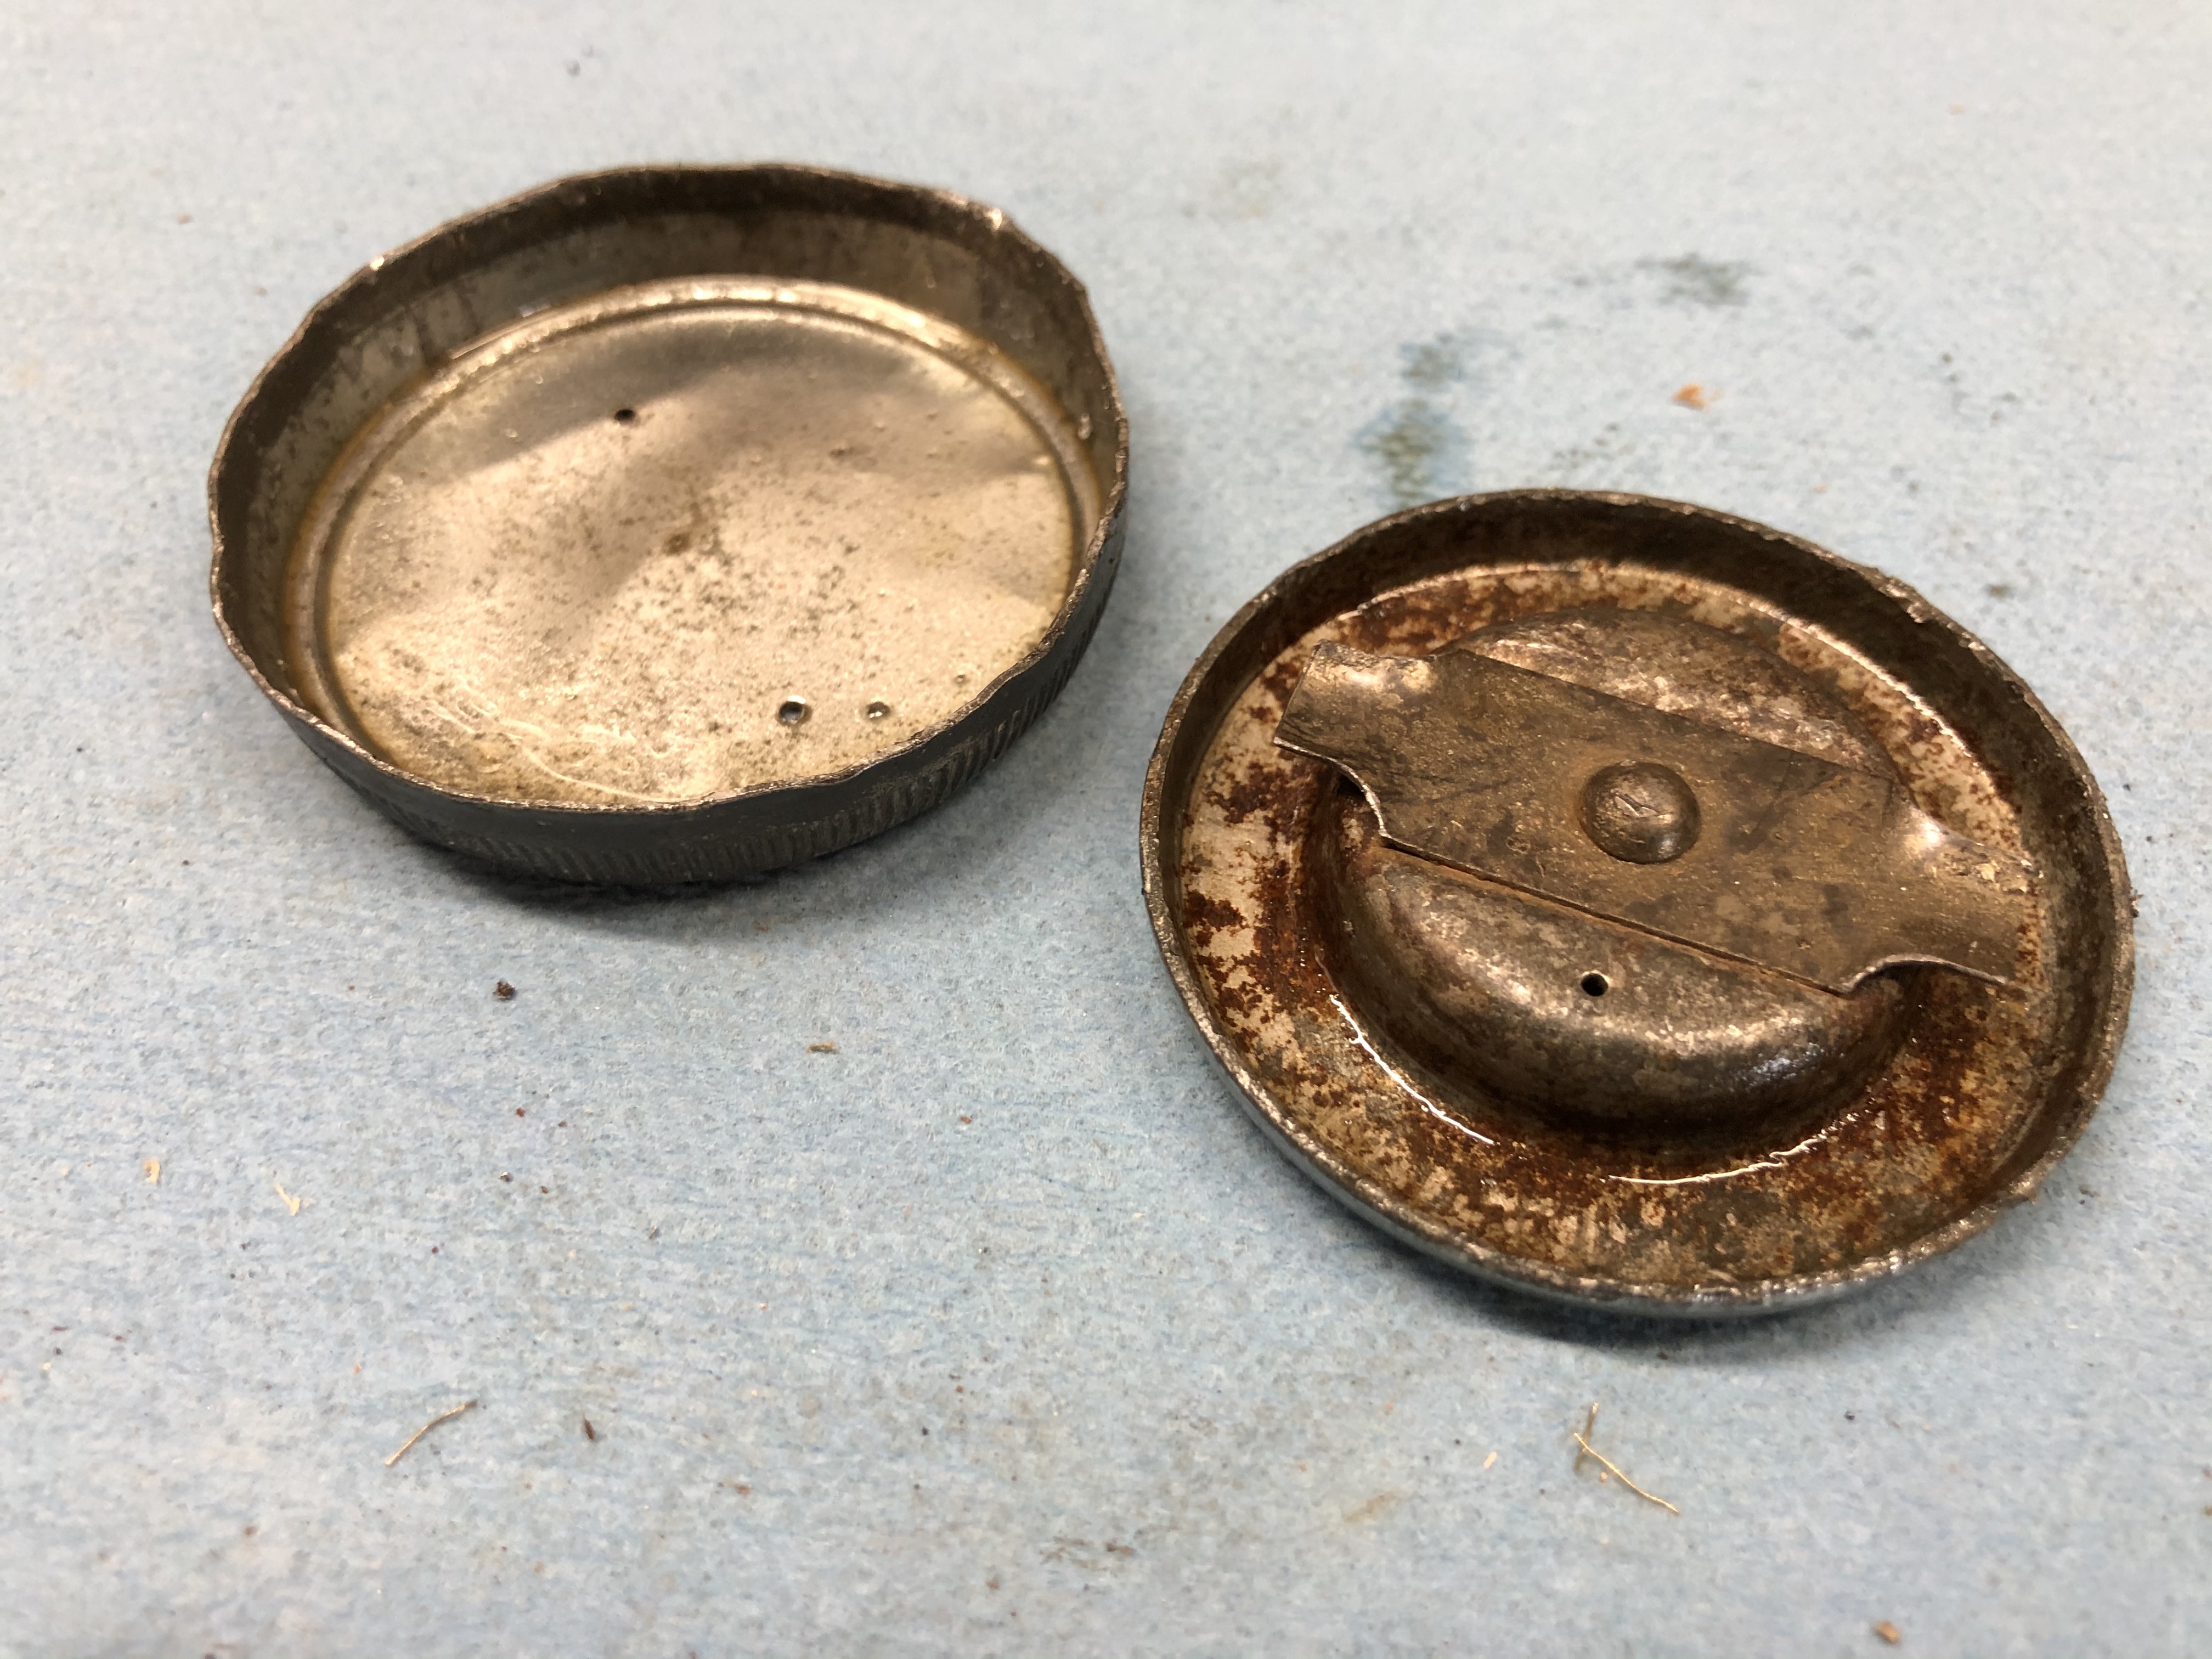
With everything apart the parts are easy to clean and get the vent holes nice and clear.
The challenge came with reassembling the two parts back into a single cap assembly. Since the inner cap is what mates to the gas tank, it really needs to be retained by the outer cap otherwise there is risk putting the cap on a gas tank and then find it can't be removed because the outer cap isn't tightly clamped on the inner cap and just spins.
When I reassembled the gas cap I flared out the rim of the inner cap so it had to be driven lightly to get it back into the outer cap and then I rolled the edge of the outer cap over to secure everything together. Going forward I will most likely won't bother with trying to clean this older CT90 gas cap design as it's not worth the effort and I'll just use the newer configuration that is easier to pull apart and reassemble.
I also made a video on YouTube at the link below that shows the disassembled caps in more detail.
I hope the information I shared above is helpful.
Comments
Post a Comment