CT90 K1 3D Printed Carb to Air Filter Boot
I recently picked up my first 3D printer and now have an endless list of things I plan on making on the printer for my CT90's and other hobbies that I have.
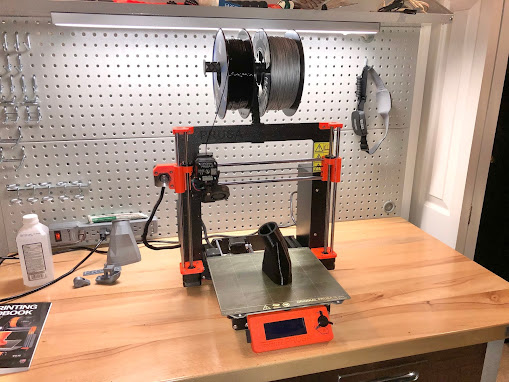
The 3D printer I picketed up is a Prusa i3 MK3S+ and I purchased it during a Black Friday sale Prusa had run last year. I purchased the printer as a kit and it was a fun project in itself, but since I got the printer up and running, I've found it to be very capable and I am happy with my printer choice.
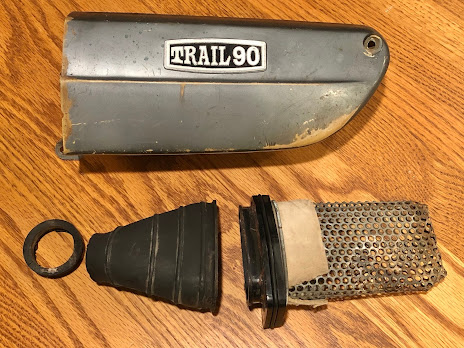
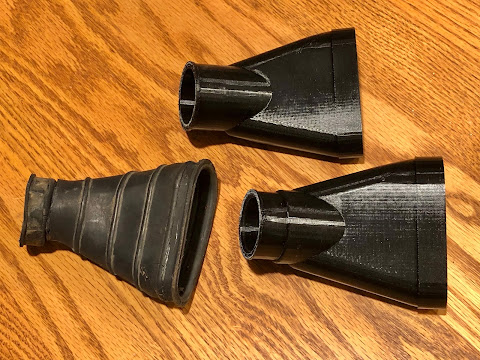
One of my first projects was to design and print the a replacement for the rubber boot that goes between the carb and air filter on the 1969 CT90 K1. I've owned sever K1's and I think I had only one where the boot hadn't fully degraded and wasn't falling apart like the one in the picture below.
There are replacement boot/filter holders available, but they are almost $70.00 which is pretty pricey. Most of the time the filter holder portion of the assembly is just fine and its just the rubber portion that has fallen apart.
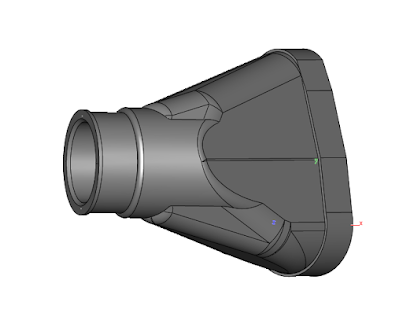
To design the boot I used ViaCAD 2D/3D ,Version 11, and this is the design I ended up with that fits the standard 4 screw carb on the early K1's. The diameter of the open that mates to the carb is just under 36mm which provides a nice snug fit on the carb.
I designed my boot to be 3D printed using TPU which is a flexible filament. I also included an internal groove on the end that mates and snaps over the rimed feature on the filter holder that would normally accept the rubber boot.
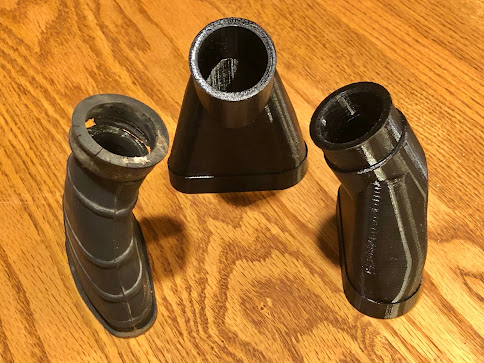
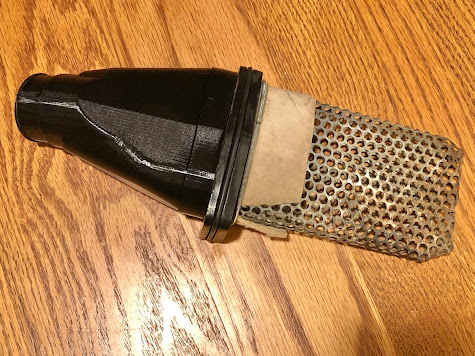
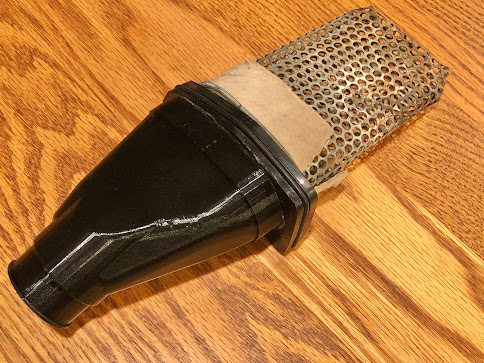
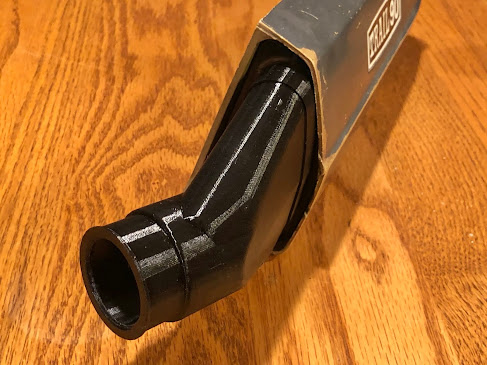
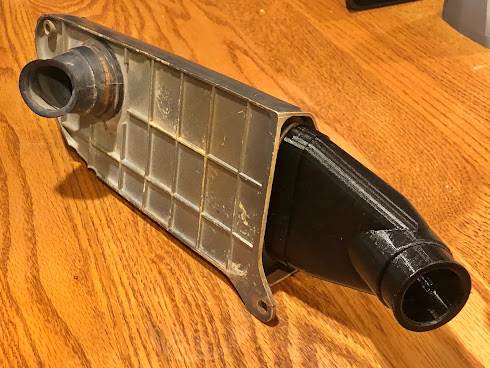
Here are a couple of pictures of one of the boots connected to the filter holder. The snap fit works well, but is on the snug side, so while you can snap it on by hand (with a little work) you need a screw driver or something similar to help pry it off of the lip of the feature on the filter holder it snaps on too.
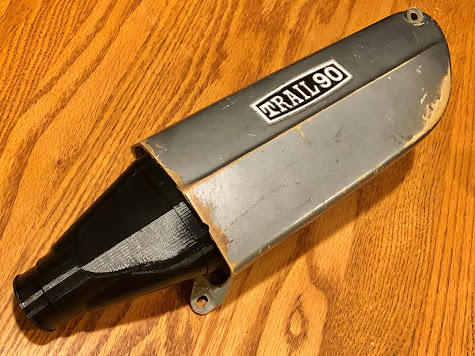
And here is a picture or two of the assembly slid into the filter housing.
I don't know how well the TPU will hold up over time, but it does have some gas and oil resistance.
The TPU is flexible enough for the application, but isn't elastic like rubber. I also used a fairly heavy wall thickness to make the part robust, but now that I have printed the parts I probably could have gone with a thinner wall which would have made the boots that much more flexible. Now that I have the model, it will be easy to try other more flexible and elastic materials in the future that may also be more durable and fuel resistant.
My plan is to develop models for all the CT200 and CT90 rubber boot applications, so I can print the parts I need on future builds. I build bikes to get them running and to ride, so I'm more interested in having a functional part and can live with the shame of not having a concourse correct bike.
As I develop future CT200/CT90 3D parts I'll be uploading those .stl files also.


Thanks so much for working on a boot for the K1! I need to replace mine, so would be very interested. If you need to check the fit on a running K1... I would be happy to try it out!
ReplyDeleteHi, I've updated this post with links to where you can download the .stl files for either of the two boots if you would like to try and print one of these boots. If you do end up printing one I would be interested in hearing how it turned out and if it worked on your CT90.
DeleteThis is great, you'd be doing a great service to CT90 owners if you put the schematics for the airbox pieces.
ReplyDelete